Peach Jam -A Simple Recipe Step by Step!
Peaches just say summer to me. Growing up we picked them off the tree, huge and sweet, and ate them warm from the sun. But, they’re nearly as good from the fruit stand or store these days since our tree is long since gone…
My grandmother always made her jam, and did everything else actually, in the cool of the early morning hour. So, up at 5 am, I made some peach jam and it turned out so well I’ll share it here!
If you’re new to jam making you need to buy or borrow the proper tools to avoid getting burned and to make the process much, much easier. You’ll need a big canning pot for boiling the jars, a “lifter” to get the jars in and out of the boiling water, a canning funnel to get the boiling hot jam into the boiling hot jars (getting the idea that everything is painfully hot here!) and a nice wooden spoon to stir the jam. Jam making is serious business since sticky, boiling hot jam can cause a nasty burn! Don’t try to use regular tongs….tried it….the jars slip into the hot water causing a splash burn that hurts for hours! Everything you need is pictured below. You might want to pick up a copy of the latest Ball Canning book when you buy your jars (Walmart is the cheapest) so you can read up on the whole process. So, lets get jamming!
Step One: Select 6 nice big, ripe peaches. Bring water to boil in a medium sized pan so you can dip the peaches to peel them easily (see recipe for more instruction).

Step Two: Meanwhile, after washing the jars, put jars, lids and rims in the canner and bring water to a boil while you prepare peaches.


Step Three: Cook the jam! After peeling I just cut the peaches into small pieces , added 3 cups of sugar and 1 T. lemon juice (I don’t add the ginger called for in the recipe since we’re not fond of ginger – if you are, add it in here!) Rather than drag out my food processor I prefer to mash my jam with a potato masher, leaving a few larger pieces.
You need to let the jam boil gently on med. heat for 30 minutes…stirring frequently!

When the timer goes off after 30 minutes use your canning funnel to ladle the jam into the hot jars (which you just took out of the boiling water). Place lids and rims on the jars and place them back in the canner. Once the water comes to a boil set the timer for 10 mins.

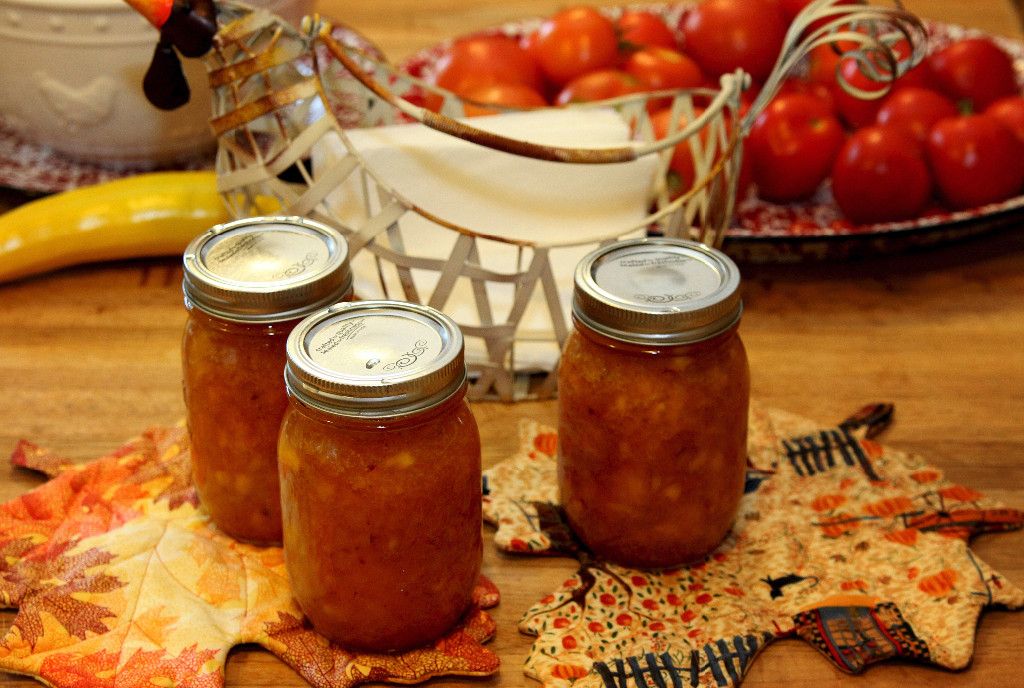
Once the 10 minutes of boiling are up, lift the jars out, place on a towel or hot pad and listen for the satisfying “pop” signaling that your jam is properly sealed and ready to store or give as gifts!

And here is the recipe. I got it from Sept. 2013 issue of Family Circle magazine.
Enjoy! Do you have a favorite jam recipe you’d share with us?
Please “Pin” to share and “like” The Radish Patch on Facebook!